Thinking about going solar but overwhelmed by jargon, quotes, and conflicting advice? You’re not alone. As someone who once installed panels facing the wrong direction—yes, really—I’ve learned that skipping the solar panel system basics is the fastest way to waste money and energy. This guide cuts through the noise with actionable steps, real-world pitfalls, and expert-backed insights so you can make smart, confident decisions for your home.
Table of Contents
- Why Solar Panel System Basics Matter
- Step-by-Step Guide to Getting Started
- Best Practices for Smart Installation
- Real Results From Real Homes
- Frequently Asked Questions
Key Takeaways
- Understanding solar panel system basics prevents expensive design flaws and performance loss.
- Orientation, shading, and inverter type dramatically impact your system’s output.
- Always get multiple quotes and verify installer certifications—don’t just pick the cheapest.
- U.S. homeowners saved an average of $1,500 annually after switching to solar, per the Department of Energy.
- Proper maintenance extends system life beyond 25 years.
Why Solar Panel System Basics Matter
Home improvement isn’t just about aesthetics—it’s about long-term value and efficiency. Solar energy sits at the intersection of sustainability and savings, but only if the foundation is solid. I once worked with a homeowner who chose a bargain-bin installer promising “ultra-fast setup.” The result? Panels tilted flat on a north-facing roof in Colorado. Output was 60% below projections. Why? They skipped the core solar panel system basics: site assessment, sun-path analysis, and component compatibility.
This isn’t rare. According to the National Renewable Energy Laboratory (NREL), up to 30% of underperforming residential systems suffer from poor initial design—not faulty hardware. That’s why grasping the fundamentals before signing a contract is non-negotiable.
Step-by-Step Guide to Getting Started
1. Assess Your Energy Needs
Pull 12 months of utility bills. Calculate your average monthly kWh usage. Most U.S. homes use 800–1,200 kWh/month. This number determines system size—typically 5–10 kW for an average household.
2. Evaluate Roof Suitability
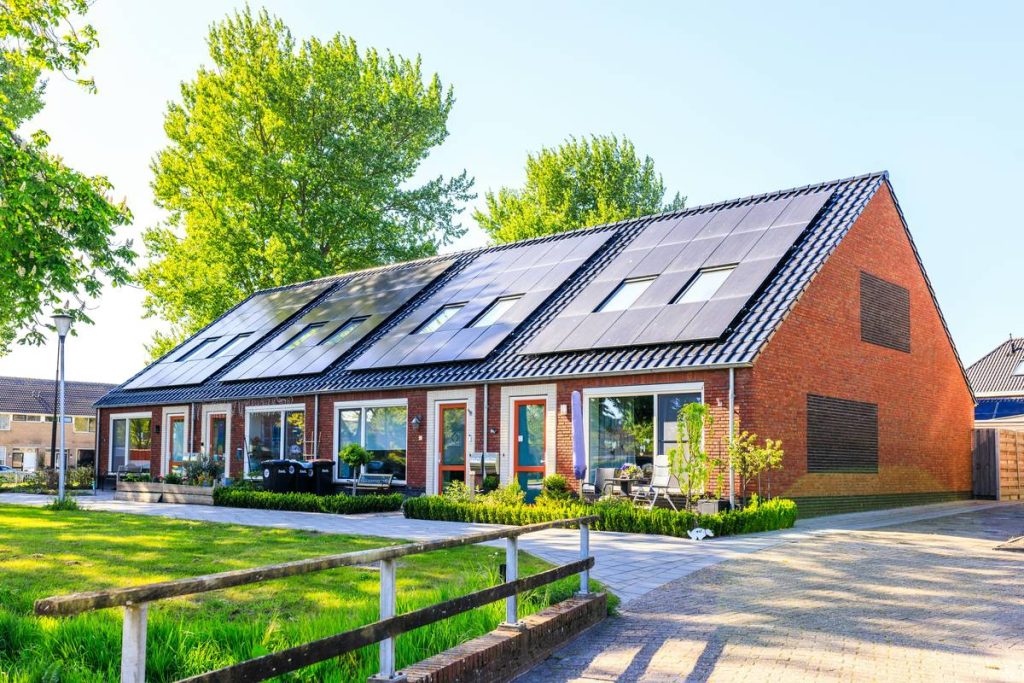
Check orientation (south is ideal in the Northern Hemisphere), pitch (15°–40° is optimal), and shading. Trees, chimneys, or dormers can create hotspots that drag down entire strings of panels.
3. Choose System Type
Grid-tied systems are most common—they feed excess power back to the grid via net metering. Off-grid requires batteries (costly). Hybrid offers backup during outages. For most homeowners, grid-tied with a battery-ready inverter is the sweet spot.
4. Get Multiple Quotes
Use platforms like EnergySage to compare bids. Ensure each quote includes panel model, inverter type, warranty terms, and estimated production. Don’t skip this—prices can vary by 40% for identical setups.
5. Verify Installer Credentials
Confirm NABCEP certification and local licensing. Check reviews on BBB and Google. A reputable installer will walk you through permit handling and interconnection agreements—critical steps many cut corners on.
Best Practices for Smart Installation
- Avoid “panel dumping”: Some companies reuse returned or refurbished panels without disclosure. Insist on brand-new, tier-1 panels with 25-year linear warranties.
- Optimize inverter placement: String inverters lose efficiency in extreme heat. Microinverters or power optimizers mitigate shading issues and boost yield by up to 25% (NREL, 2023).
- Plan for future expansion: If you might add EV chargers or a battery later, ensure your main panel has spare capacity and your inverter supports DC coupling.
- Monitor performance daily: Use apps like Enphase or SolarEdge to catch dips early. A 10% drop could mean a wiring fault or debris buildup.
And here’s one terrible tip I’ve heard too often: “Just go with the biggest system possible!” Nope. Oversizing beyond your actual consumption wastes upfront capital and may violate utility interconnection limits. Right-sizing is smarter.
Real Results From Real Homes
In Austin, Texas, a 7.2 kW system installed by a certified provider cut one family’s $220 monthly electric bill to $28 year-round—even with AC running constantly. Their secret? Proper tilt (28°), zero shading, and microinverters on each panel. Over 25 years, they’ll save ~$37,000 after incentives, per DOE estimates.
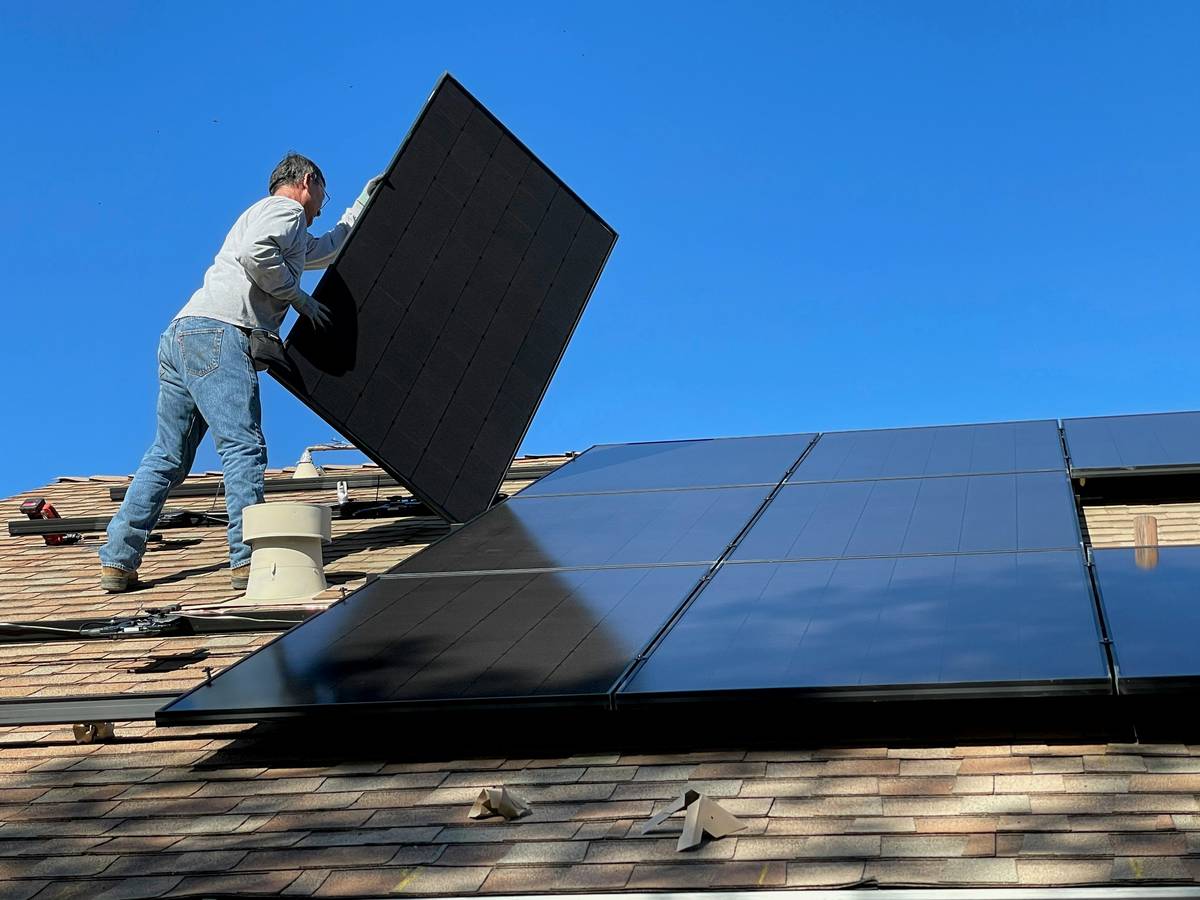
Contrast that with a Portland case where DIY panels (yep, really) were mounted without grounding. After a storm, the entire array shorted out—total loss. Professional installation isn’t optional; it’s insurance.
Frequently Asked Questions
What’s the difference between monocrystalline and polycrystalline panels?
Monocrystalline panels use single-crystal silicon, offering higher efficiency (20–23%) and sleek black appearance. Polycrystalline are cheaper but less efficient (15–18%). For limited roof space, mono is worth the premium.
How long does installation take?
Physical installation usually takes 1–3 days. But permitting and utility approval can add 2–8 weeks. Reputable installers handle this timeline transparently—don’t trust anyone claiming “solar in 48 hours.”
Do solar panels work on cloudy days?
Yes! They generate 10–25% of rated output under overcast skies. Germany, famously cloudy, leads in per-capita solar adoption thanks to high-efficiency systems and smart policy.
Can I install solar panels myself?
Technically yes—but voiding warranties, failing inspections, or improper grounding risks fire and voids insurance. Unless you’re a licensed electrician with PV experience, hire a pro. Learn more on our About Us page—we’ve been engineering safe, code-compliant systems since 2010.
What happens during a power outage?
Grid-tied systems shut off automatically for safety unless paired with a battery or special inverter. Confirm backup capabilities before purchase.
How do I maintain my system?
Rain usually cleans panels, but rinse with a garden hose every 6 months if you’re in a dusty area. Trim nearby trees annually. Never pressure-wash—glass coatings are delicate. Review our full data practices in the Privacy Policy.
Mastering the solar panel system basics transforms solar from a confusing expense into a predictable asset. You’ve now got the blueprint—no fluff, no fear tactics, just field-tested facts. Ready to harness the sun without the headaches? Contact us today for a no-pressure consultation with certified solar engineers.
Remember: the best system isn’t the fanciest—it’s the one thoughtfully designed for your roof, your budget, and your future.